Install Android x86 in VMware & Virtualbox

Android x86 makes it possible to run Android on your PC. You can install Android x86 in virtual machines to make your debugging easy. Of course, if you really want to play mobile games on computers(Linux, Windows, OSX…).
So, finally, I remember to write an article about Android x86, This time I’ll tell all about Android x86.
What’s Android x86?
Android-x86 is an open source project licensed under Apache Public License 2.0 that makes an unofficial porting of Google’s Android mobile operating system to run on devices powered by AMD and Intel x86 processors, rather than RISC-based ARM chips. Developers Chih-Wei Huang and Yi Sun originated the project in 2009.
So, it’s just a common system. Today, let’s install this freak system!
Platform:
- Linux (Windows, OSX is also suitable for this article)
- VMware 15 (Virtualbox is also suitable)
- Android x86 (Here I use Android-x86 6.0)
First, get Android x86
First, we need an image to install Android x86. I suggest downloading from the official website: https://www.android-x86.org/.
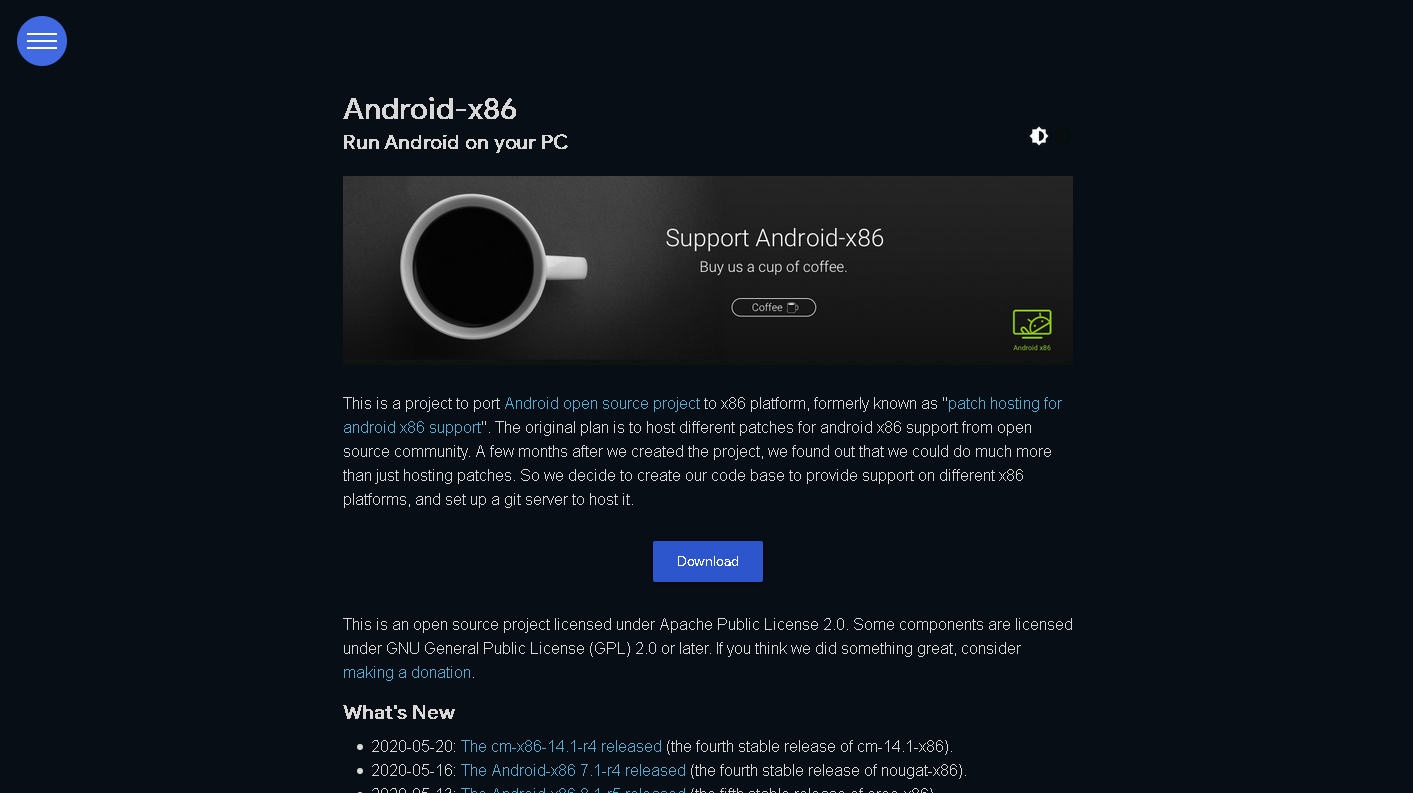
You see, click the big blue button Donwload, then choose a mirror (FOSSHUB or OSDN) to download. We need the android-x86-6.0-r3.iso.
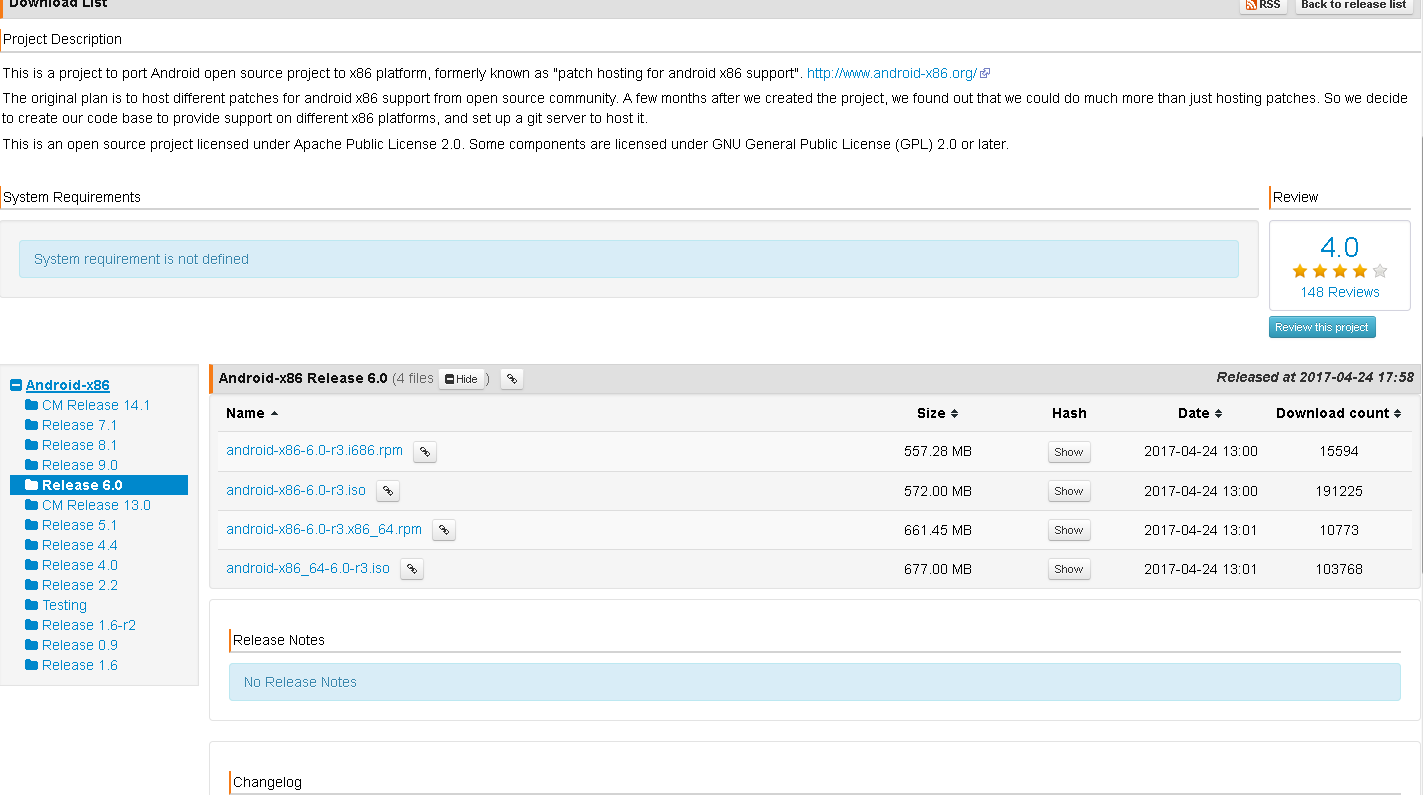
Finally we get Android x86.
Installation
- Create a new virtual machine.
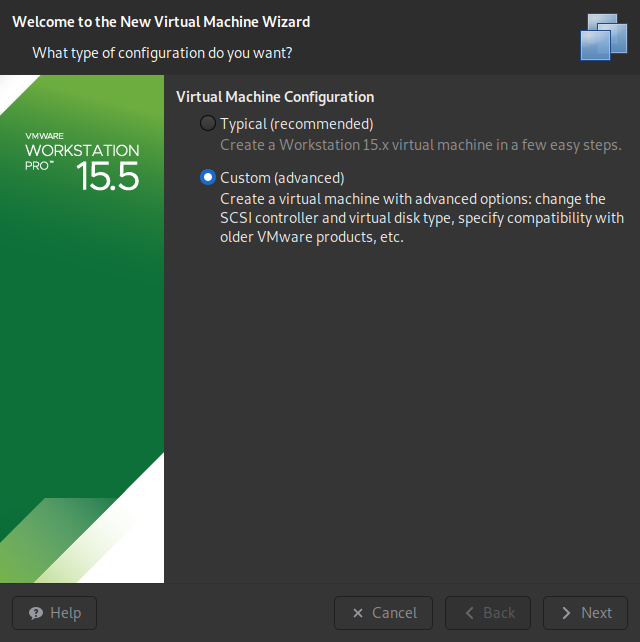
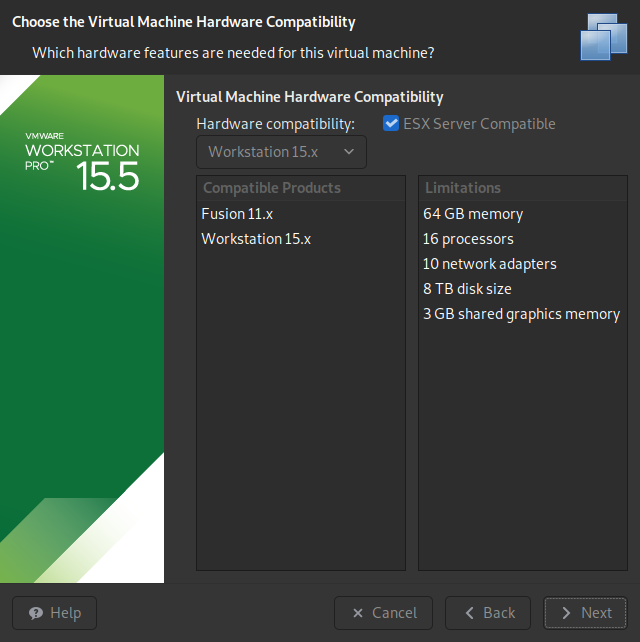
- Use the ISO image that you downloaded from the website.
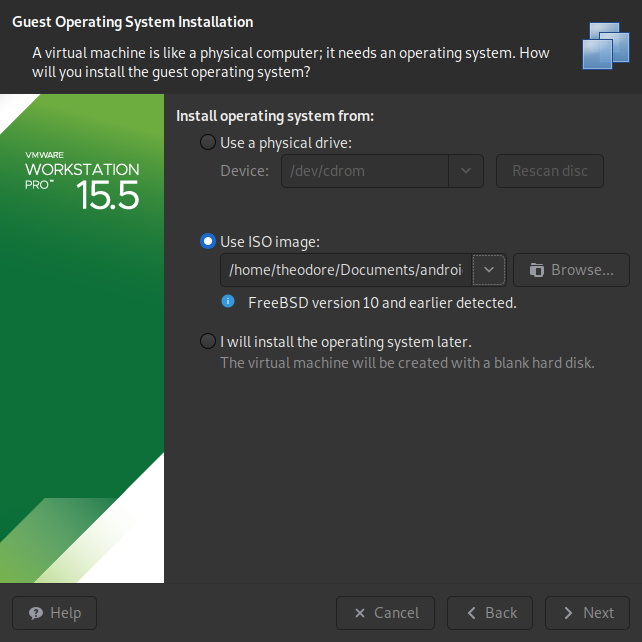
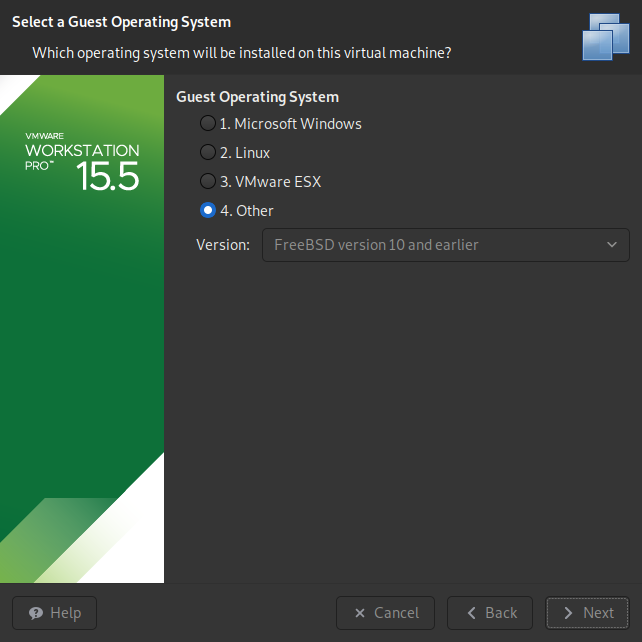
- Give it a lovely name?

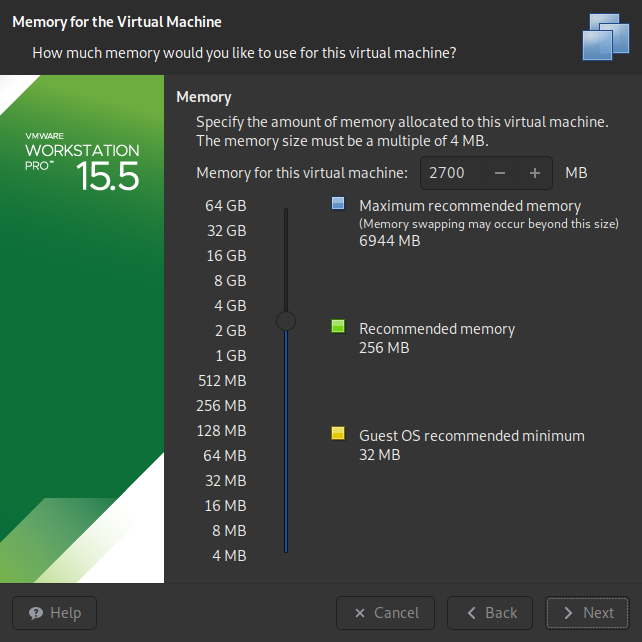
- We need at least 2GB memory to run Android x86.

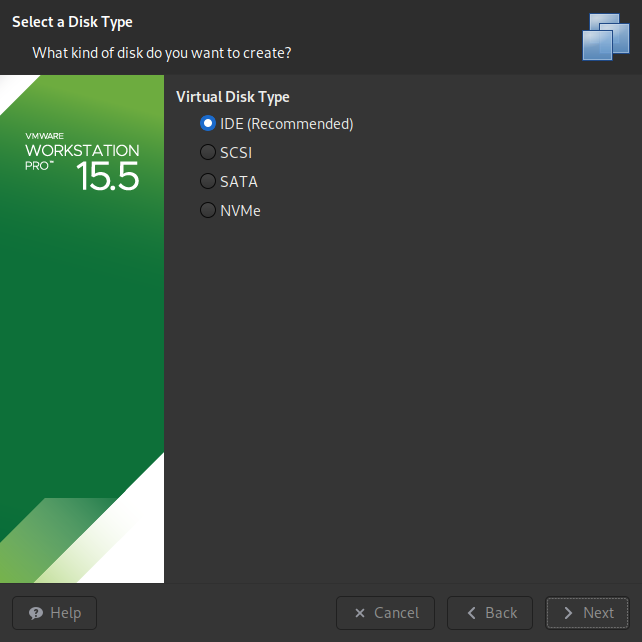
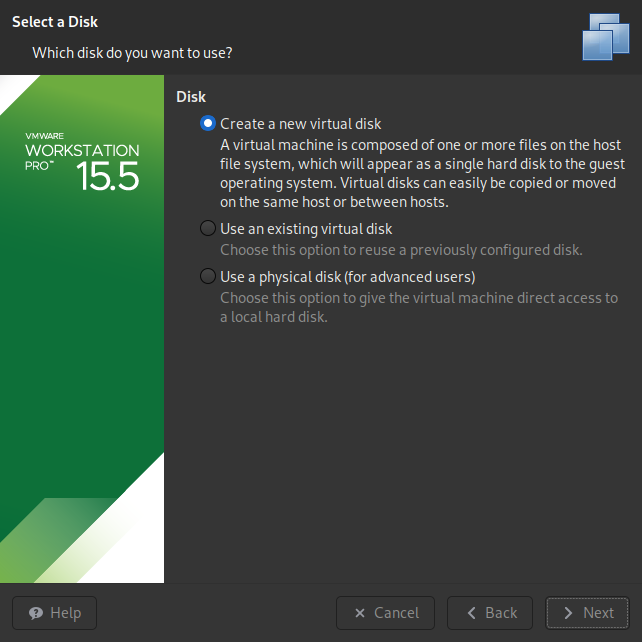
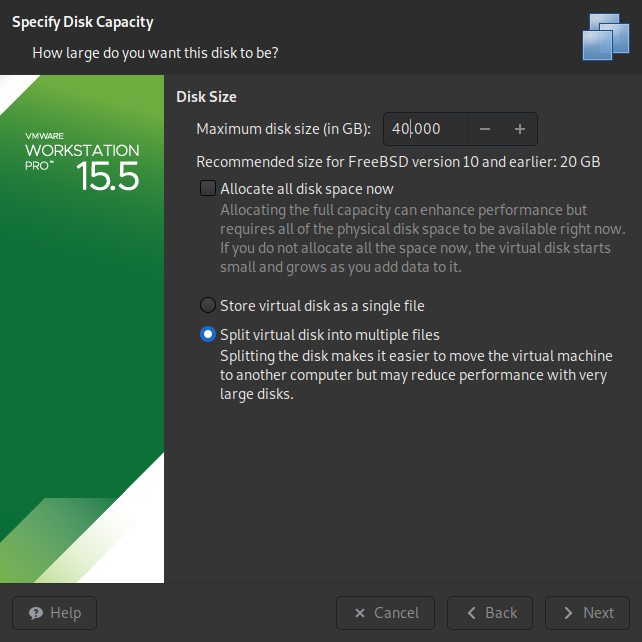
- Create virtual disk, I recommend 40GB and more.
- Now, let’s start the vm
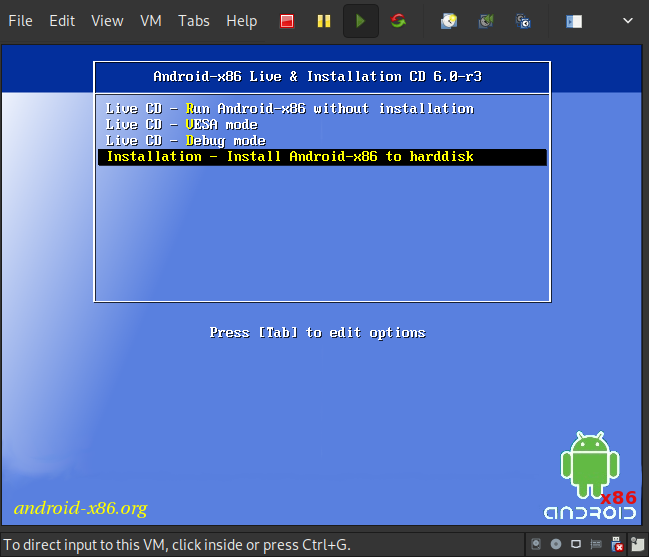
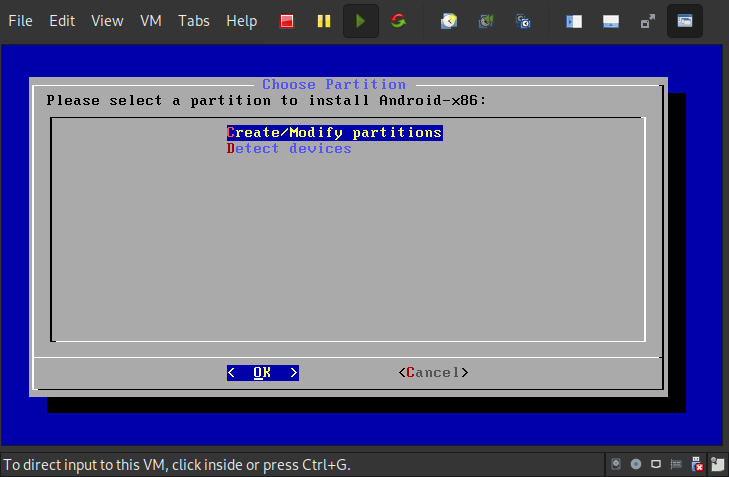
- Choose
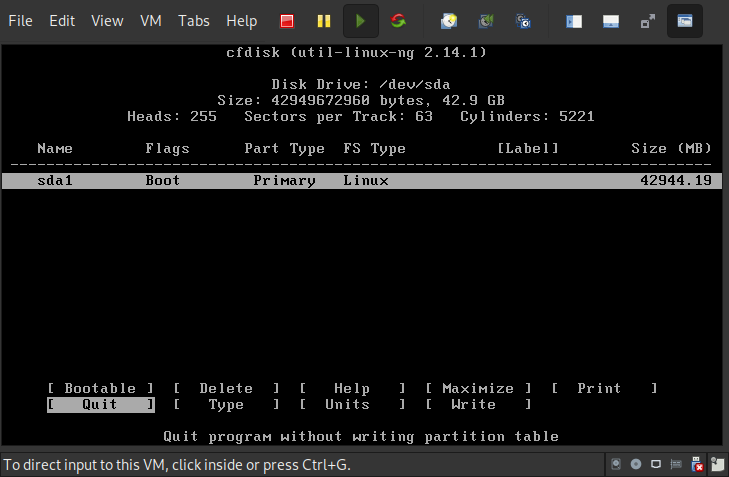
Installation - Install Android-x86 to harddisk
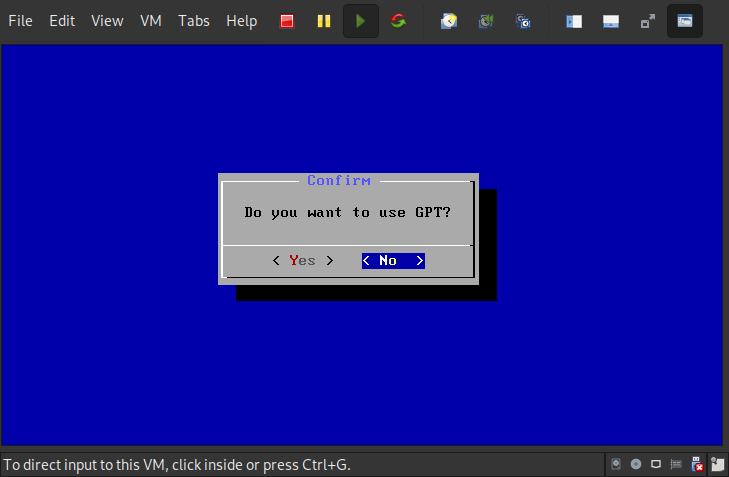
- Do not use GPT!!! Don’t ask why…😭
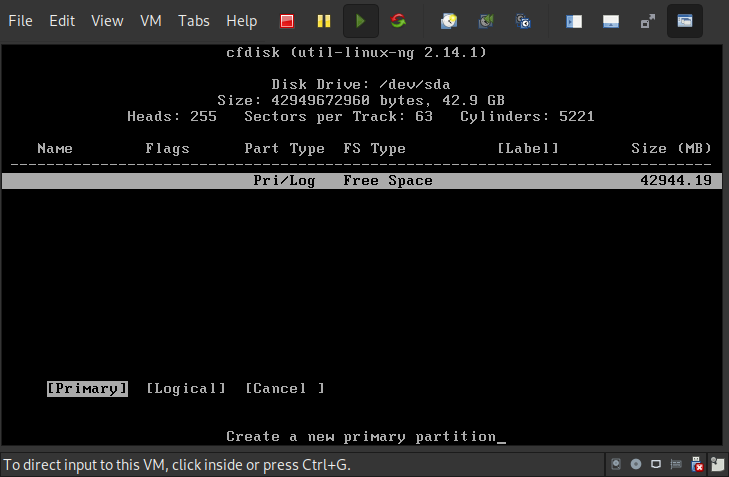
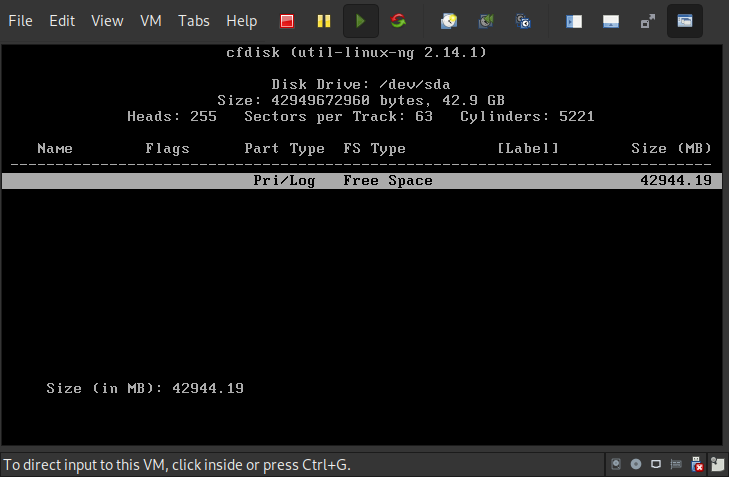
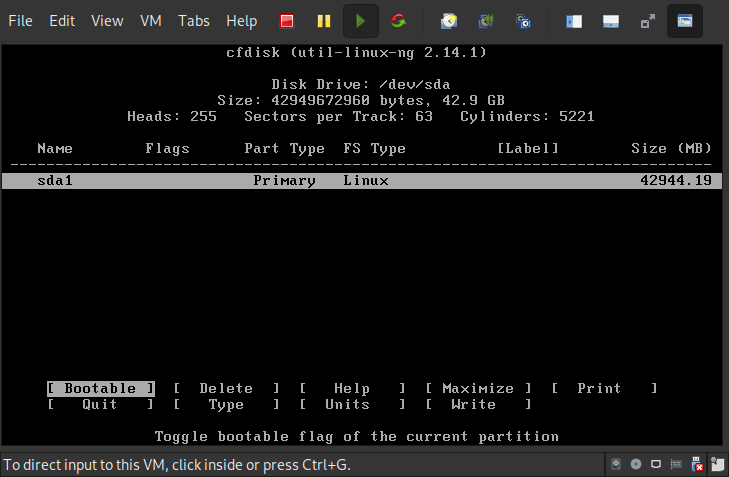
- Create new partition

- Set
Primary.
- Set
Bootable.
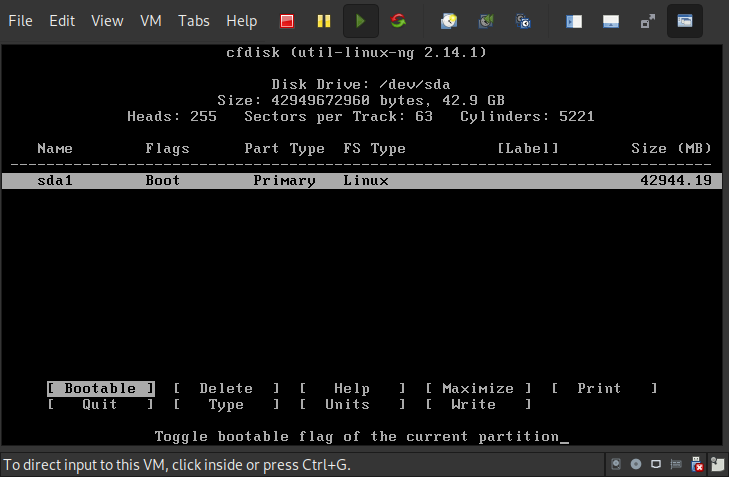
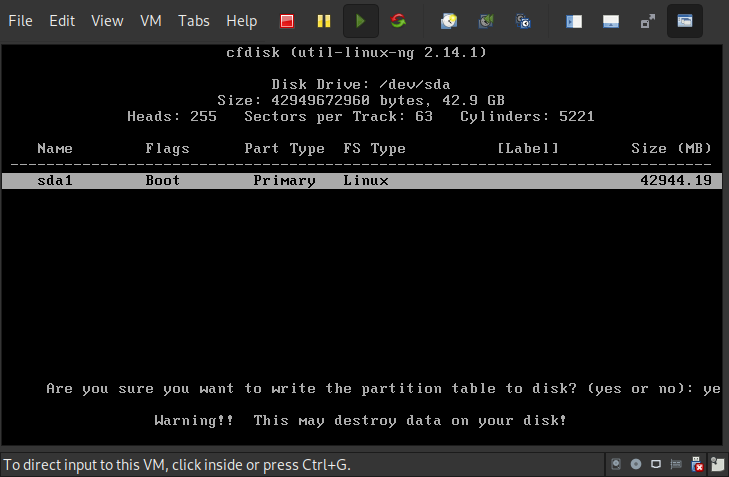
- Write partition table to disk.
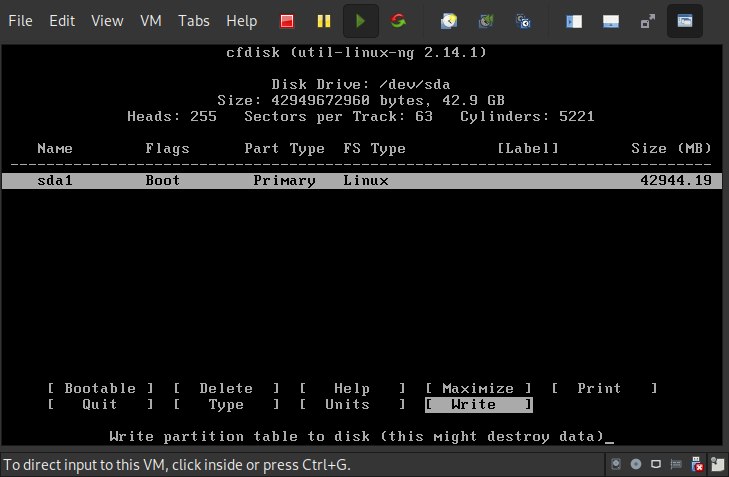
- Enter “yes” to write.
- Quit
cfdisk.
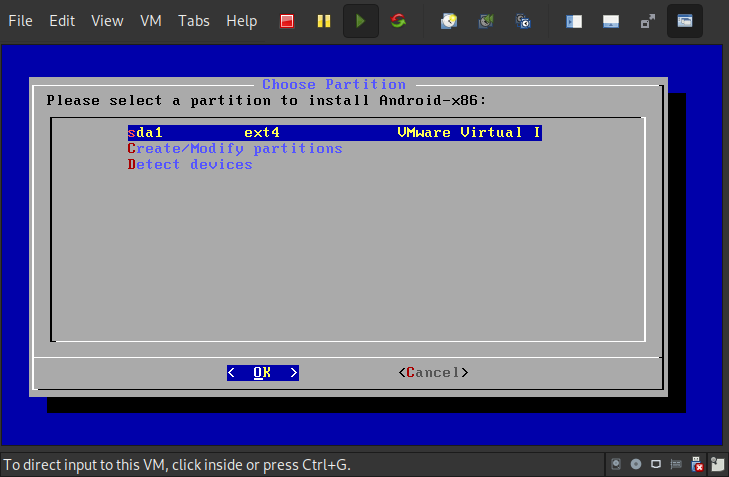
- Select the partition.
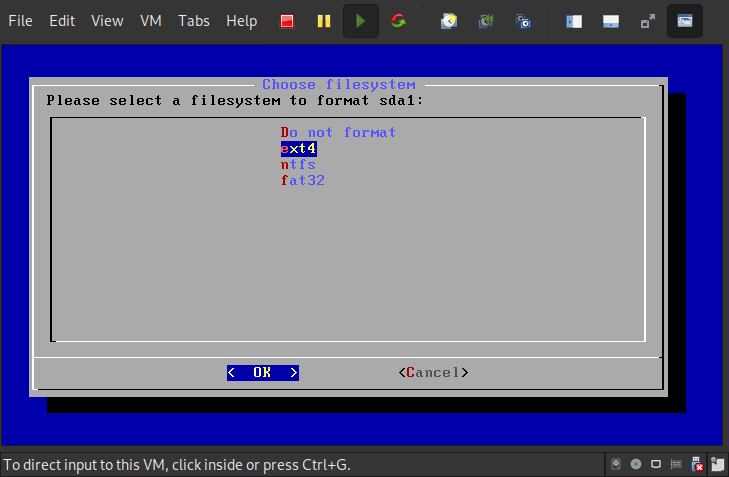
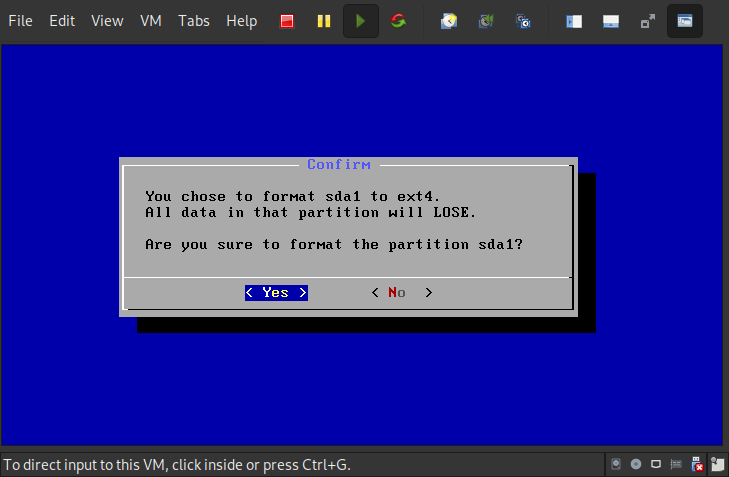
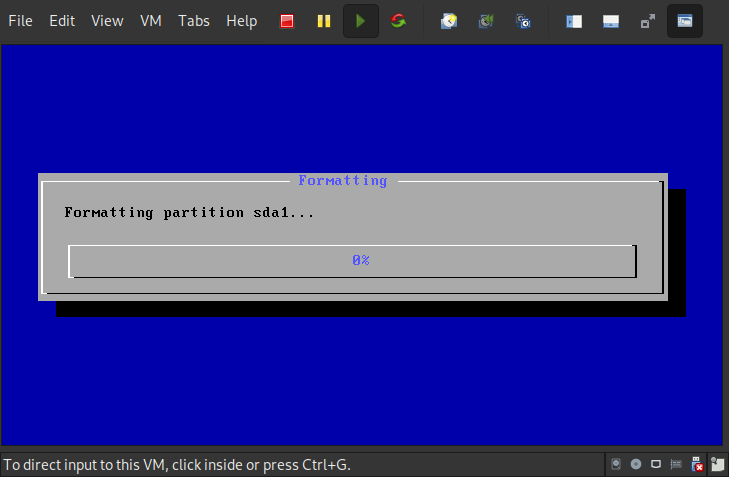
- Format as
ext4(recommend)
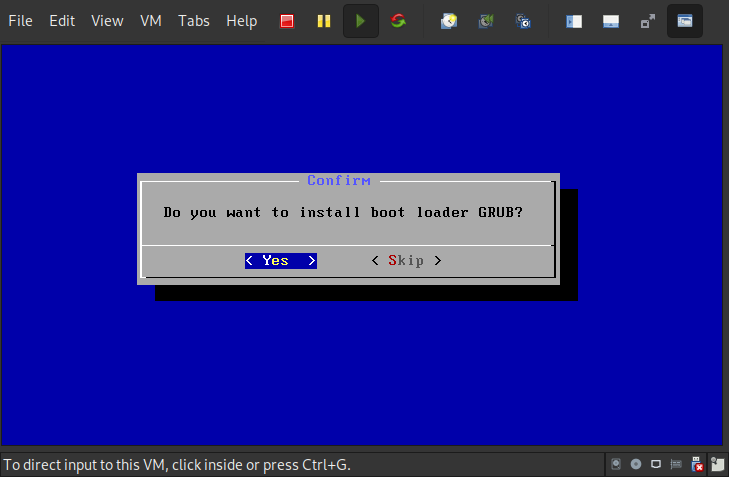
- Install boot loader.
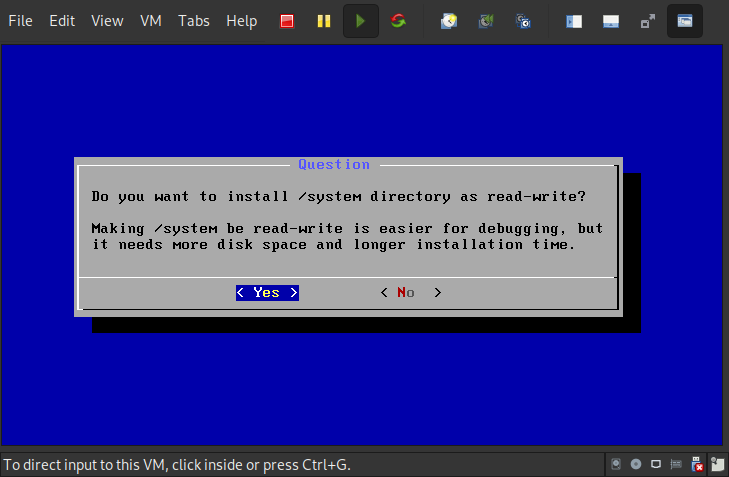
- Install
/systemas read-write.
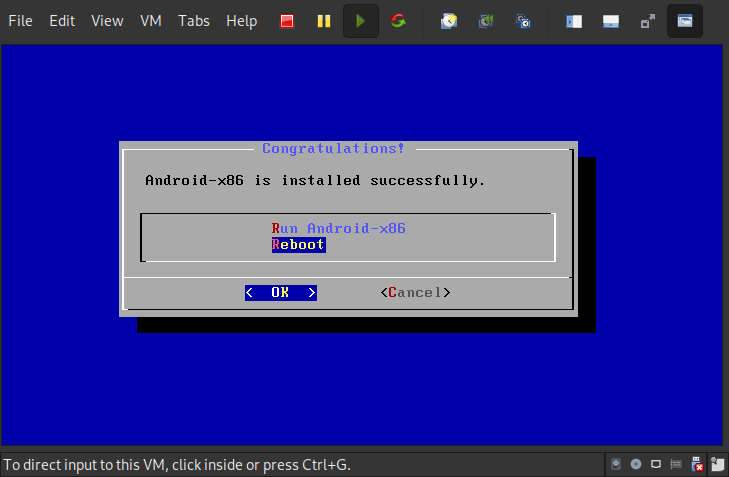
- Installing…

- Reboot (better not choose
Run Android-x86).
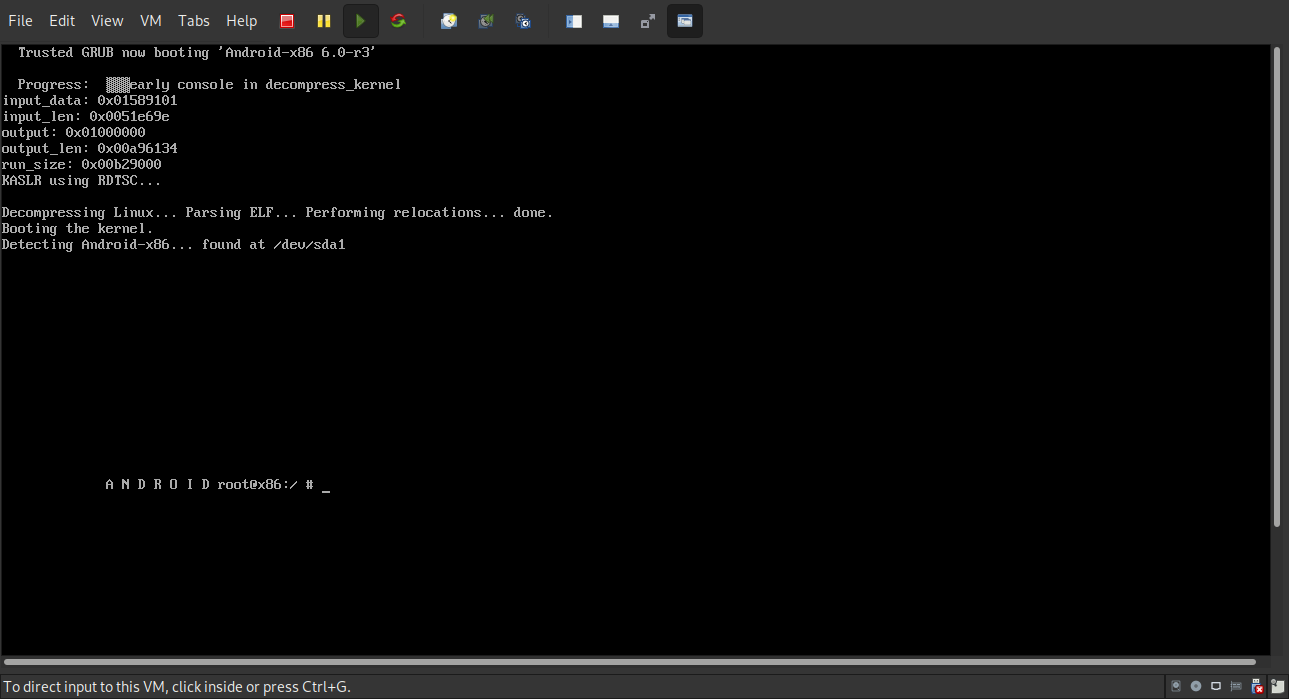
- Here’s the Grub!!! Boot
Android-x86 6.0-r3!!!
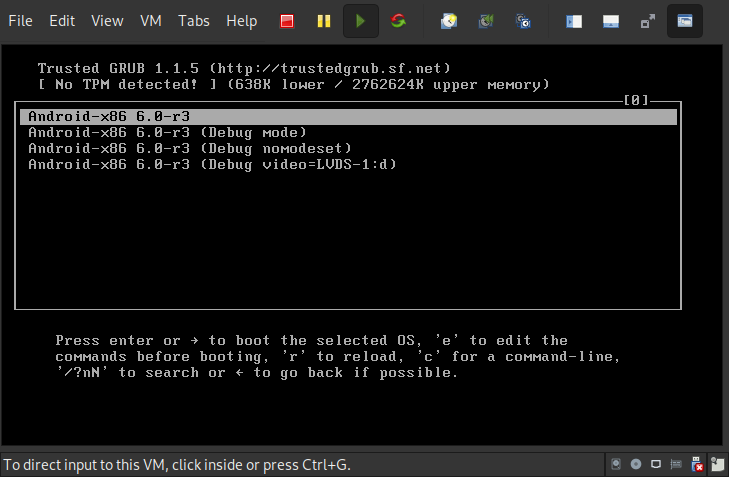
But…, oops!
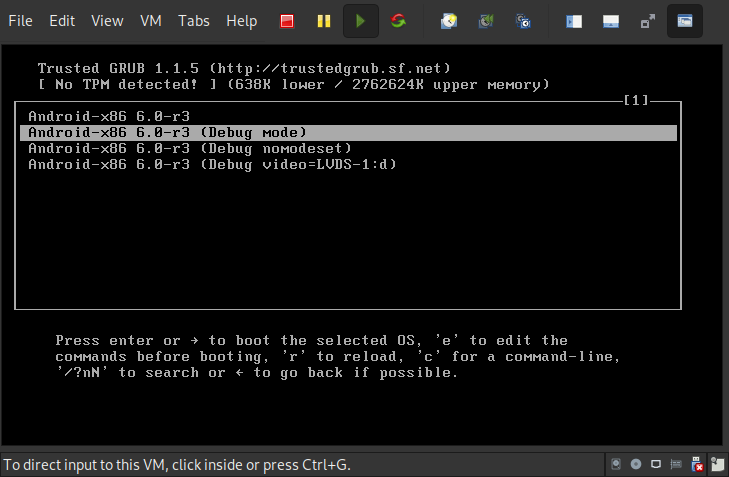
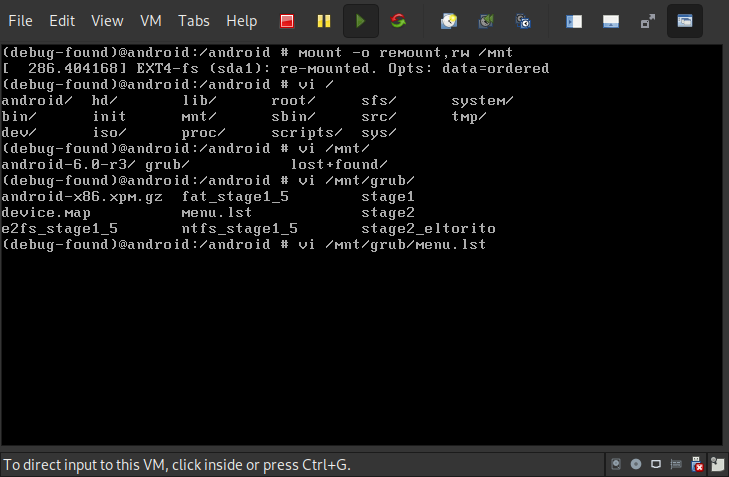
- All right, maybe we should configure this sucky system further. The solution is editing the grub in Debug mode.
- After enter the command line, firstly it needs to remount
/mntasrw.
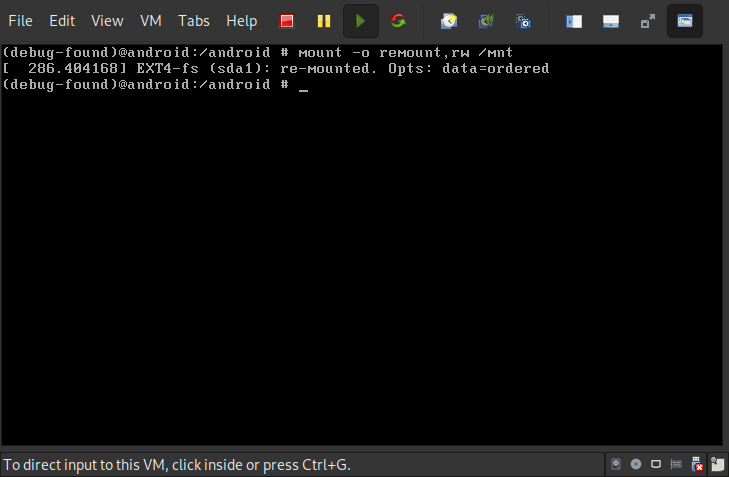
- Use vim to edit the
/mnt/grub/menu.lst.
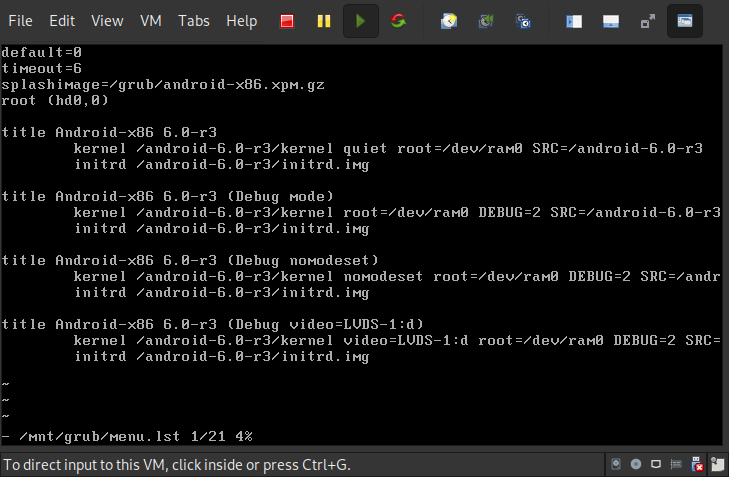
- Add
nomodesetafterquietlike this:
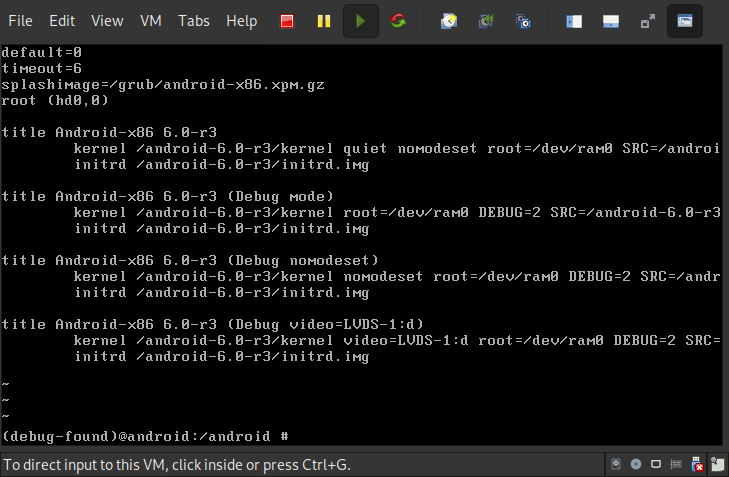
- Save & Reboot
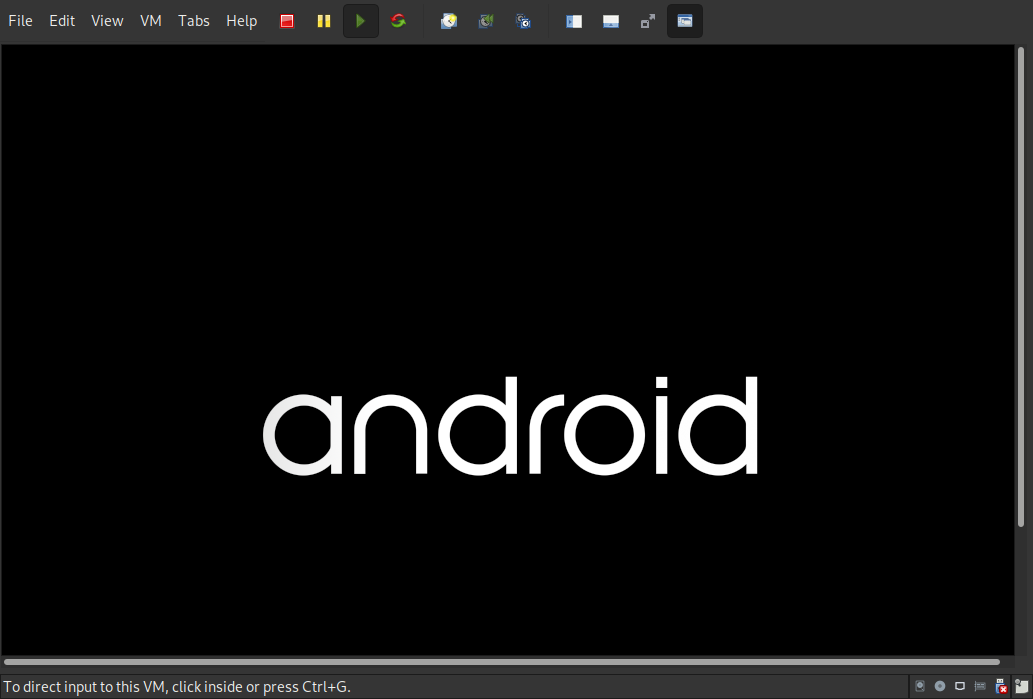
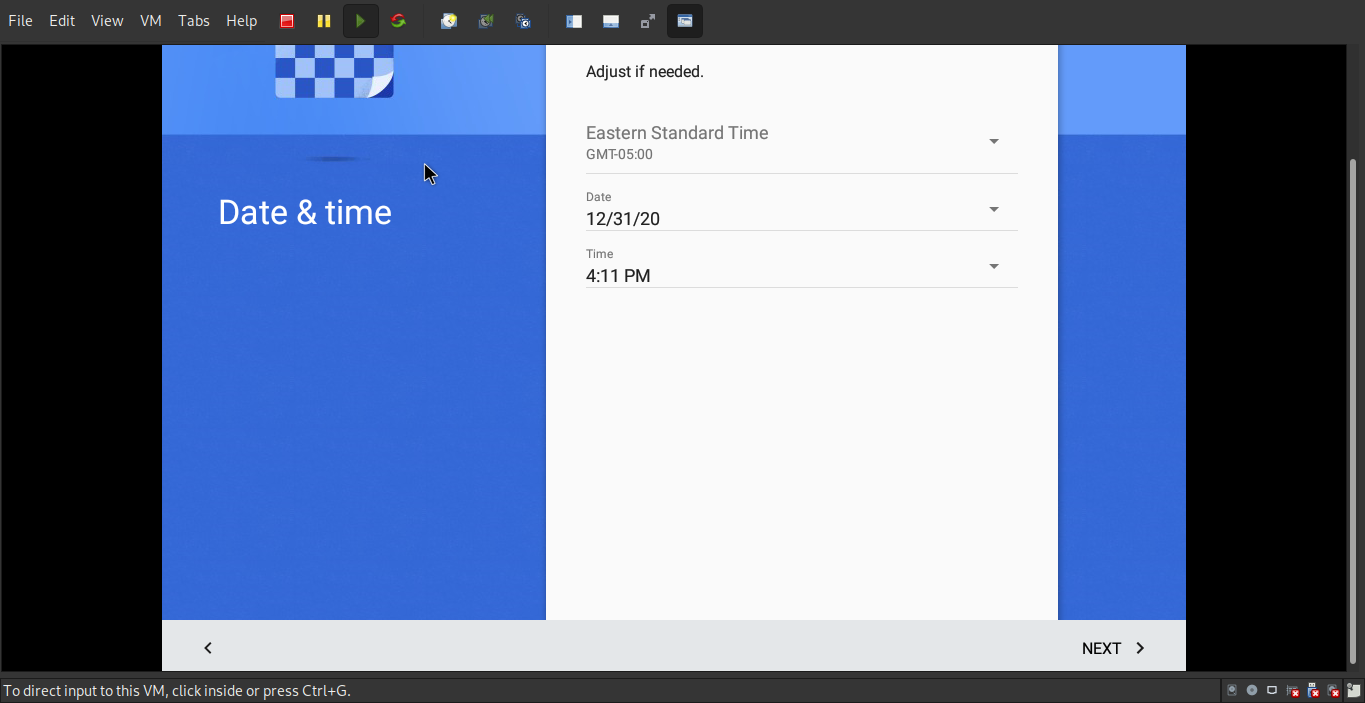
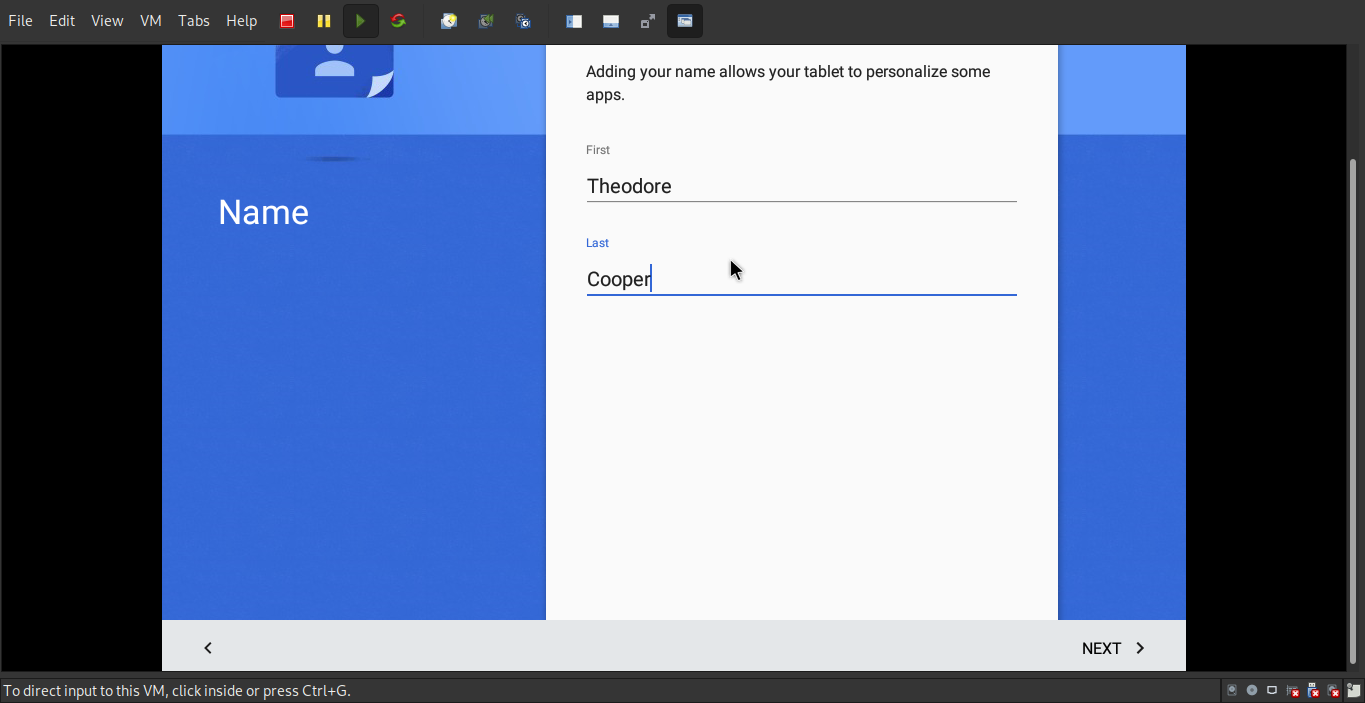
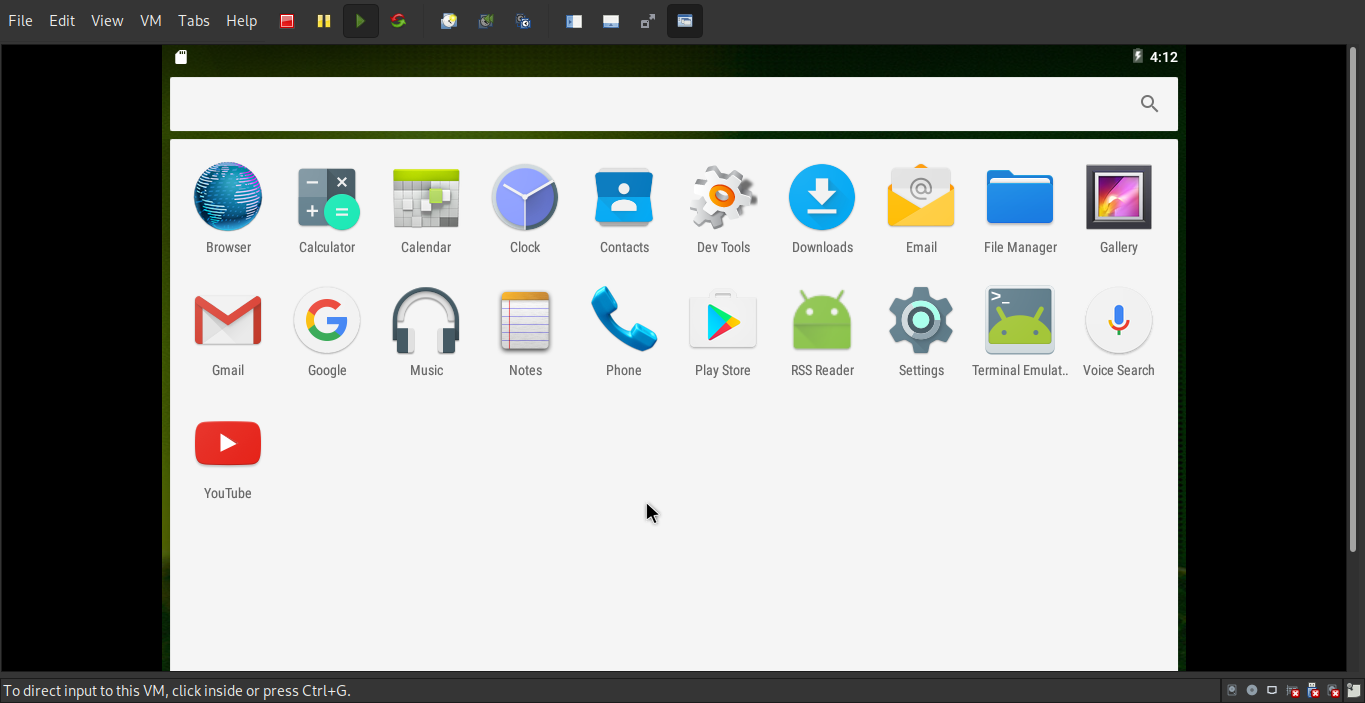
Finally! & Setup Android x86
Successfully boot Android x86!!!
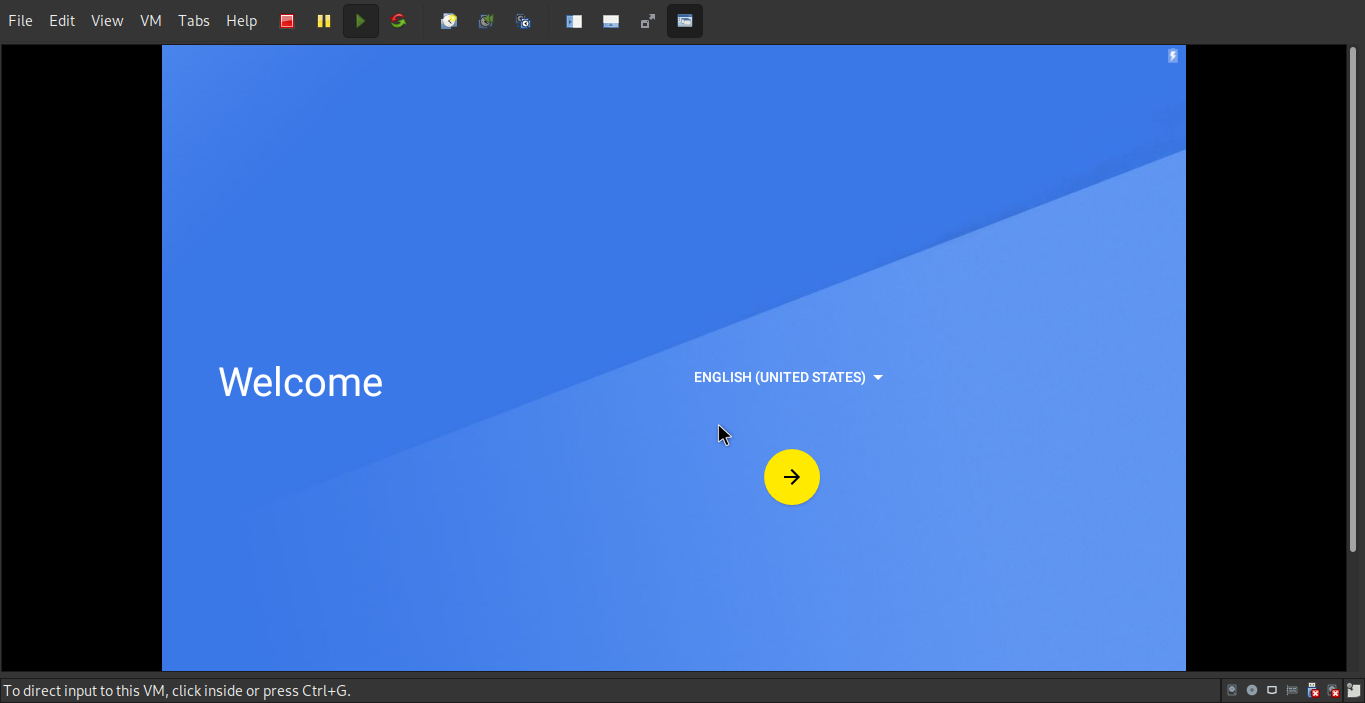
- Set date & time.
- Your beautiful name:
- Complete!!!
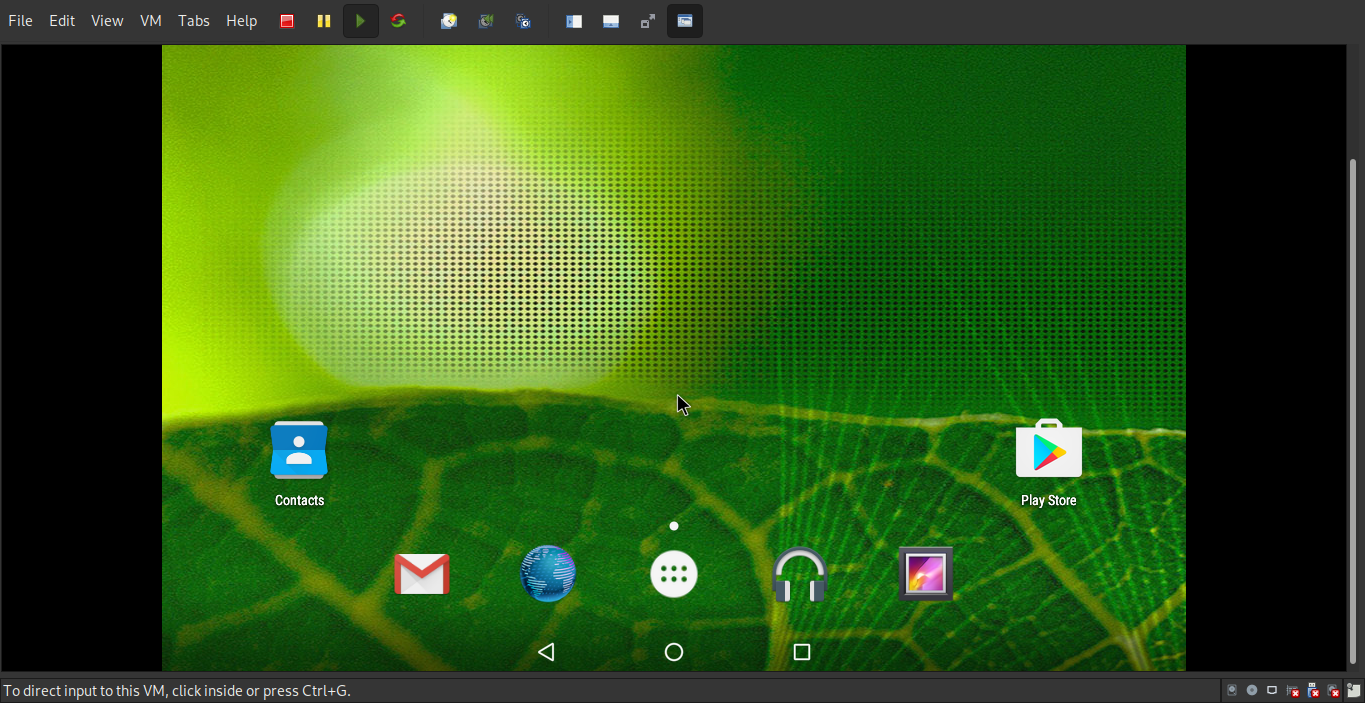
Moreover…
- If installed applications crashes easily, please run
enable_houdiniin terminal. - I recommend to use VMware, the VBox there’s something wrong!!!😡
- Have fun!!!